Help Center
We help you

Collection of consent
The objective of the Consent Collection functionality in Sign to Sign (S2S) is to register the acceptance / rejection of a person on one or more documents.
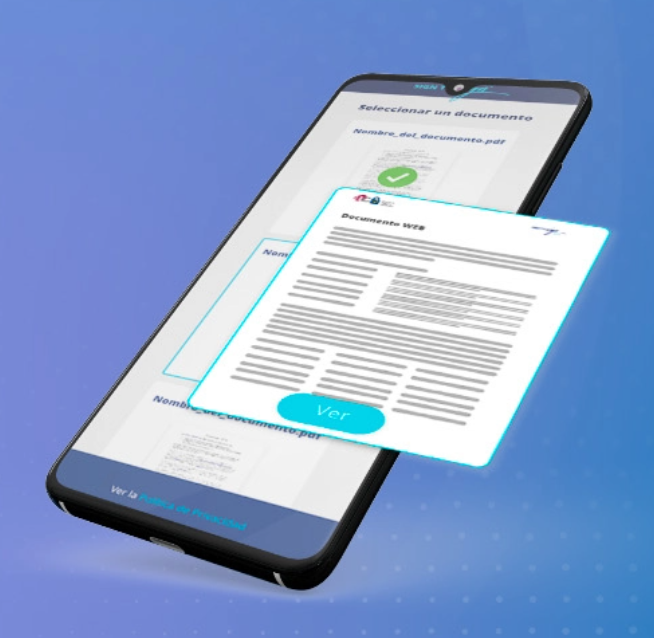
An orderer (sender, S2S user) sets up a shipment with one or more attachments, which will be sent to a recipient. The recipient receives an email containing a link to an S2S web gateway. From the gateway, the recipient views each of the documents and has two buttons “Accept document” or “Reject document” for each of the documents. All this information is recorded, and apart from being displayed on the S2S interface, it is included in the supporting document.
To send a document for collection of consent, click on the New order button on the side menu and select the consent option. Then, you will need to configure the shipment, following these steps:
- 1-Complete the information of the recipients (name and email), the subject and the body of the email .
- 2-Upload the document, to do so click on Attach file, locate the document(s) in the archives from the computer and click on Open. The limit per document is 20MB.
- 3-Click on Send.
You can add more options to your shipment, such as expiration date, reminders, identity validation options, among others.
You can also mass send, by clicking on the upper tab “By batch (XLS, CSV)”.
In the event that the recipient does not agree with the content received, can reject the order, even before accessing the document.
Learn more
You can make a mass mailing, that is make several mailings at the same time, from an Excel file in CSV or XLS format.
To design this file in Excel, you must create the Name and Email columns and in each row you must enter the corresponding data for each recipient.
In addition, if you want to send batches including identity validation options such as eIdentification or double authentication factor so that the recipients can access the contents, you must also insert the DNI and Telephone columns.
Finally, you will need to export the Excel file in CSV or XLS format.
With the CSV file already prepared, you can send it in bulk, to do so:
- 1- Select the type of shipment you want to make and once you are on the configuration screen of the shipping, select the tab By batch (XLS, CSV).
- 2- Load the CSV or XLS file, by dragging it to the screen or by clicking the Upload a file and selecting the file.
- 3- Select the name of each column and press Send. The required columns are name and email.
- 4- Complete the information of the mail to send: the subject and the body of the mail.
- 5- Upload the document, to do so click on “Attach file”, locate the document(s) in the computer files and click on “Open”. The limit per document is 20MB and for all documents it is 30MB.
- 6-Press Send.
Templates can be created for certified delivery or consent submissions, so you can send the same release many times without having to configure it each time.
Create a new template
To create a mail template:
-
1-Go to the Templates section of the side menu.
-
2-Go to new template.
-
3-Select the type of template to create.
-
4-Write the subject and text of the statement.
-
5-Attach the documents.
-
6-Press the Save button.
Submit an already created template
There are two ways to send a template:
-
1-Go to the Templates section of the side menu.
-
2-Select the template and click on Send.
-
3-Configure the recipients and any other additional options.
-
4-Click on Send.
Learn more


 eIDAS Regulation European Regulation on electronic identification and trust services